Saturday, 17 August 2013

More of the Fabulous Simply Sent Class

Hello Friends

I had to share another of the Simply Sent cards we'll be making at class on Aug 28.  

The Simply Fabulous Simply Sent kit has Smoky Slate and Pistachio Pudding embellishments and envelopes so we tend to get tied up in thinking that those are the only colours that we can or should use to make cards with the Simply Sent components.  But doesn't this card just pop with Calypso Coral as an accent colour? 
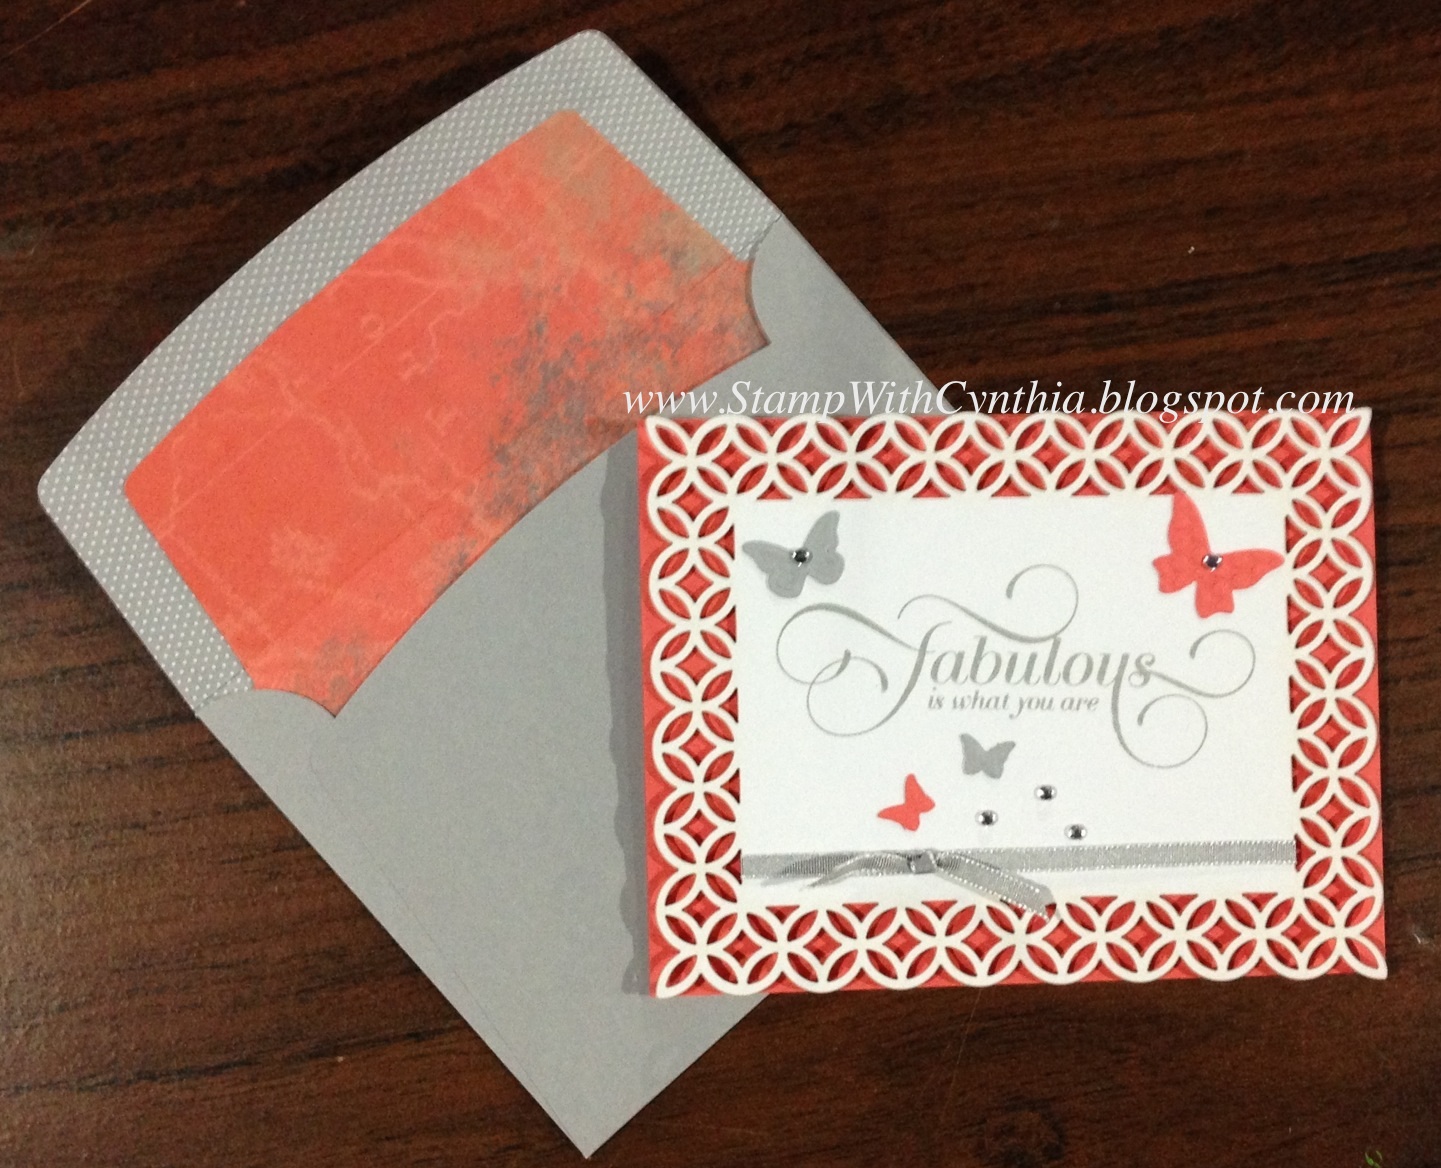

And notice the snazzy lined envelope?  If you come to my Fabulous Simply Sent Class, you'll make one of these using the new Envelope Liner Framelits from Stampin' Up!  It's so easy to dress up your envelopes to create a gorgeous co-ordinated set.

Wednesday, August 28 from 7-9 at my home.  I'd love to have you join us as we create these beautiful cards (and more!!).  RSVP to Let me know if you are coming so I can order your materials (you get a Simpy Sent Kit to use and you get to keep the Million and One stamp set.  Or substitute another set of equal or lesser value.)  Details are on my Upcoming Classes and Events page.

In the meantime, I hope everyone is enjoying a wonderful weekend.  
God Bless,     ~Cynthia    <><.

Friday, 16 August 2013

Fast and Simply Fabulous Friday - Simply Sent Class

My Dearest Friends

You want to talk about Fast and Fabulous?  Have I got some real Fast and Fabulous cards to show you today!!

Have you seen the gorgeous Simply Sent kit that Stampin' Up! has available this year?  Can you believe how elegant and refined the laser-cut note cards are?  I have to tell you, of all the Simply Sent kits that SU! has brought out over the years, this has got to be one of my favourites!!  And I am dying to show you the beautiful cards that it allows you to create.
Simply Sent Card 1

Simply Sent Card 2

Simply Sent Card 3


Come to my Simply Fabulous class on August 28 and discover just some of the ways you can use this kit to make gorgeous cards! You'll get the Million and One stamp setYou'll receive the Simply Sent kit to create 8 different, lovely cards.  And you'll get inspiration.  Does it get any better?

Here are a few samples to give you some idea of what I mean.  When I said gorgeous....I really meant gorgeous!  Don't you think so!?

For details about the class, check out my Upcoming Classes and Events tab at the top of this page.  Trust me - this is a class you are going to WANT to take!!  The cards are Fast.  They are Fabulous.  And we would LOVE to have you join us!!

Hope to see you there.  Don't forget to RSVP.

Have a truly wonderful weekend and God Bless,     ~Cynthia    <><

Thursday, 15 August 2013

Fixing "Broken" Ink Pads

Hello There

I have received several phone calls over the last year from friends whose Stampin' Up! ink pads have accidentally come apart.  You know - when the lid and the base are no longer attached.  This doesn't happen often, but when it does, I have heard some pretty colourful language being spoken.  Colourful enough to be worthy of Stampin' Up! ink - that's for sure!

At any rate, I have been promising for quite some time to make a video to show how to reassemble the SU! ink pads when they come apart, and at long last, here it is.

Hope everyone enjoys a terrific end to their week!
God Bless,        ~Cynthia      <><

Tuesday, 13 August 2013

Thinlit Circle Die Video - Delightful Dahlia Flip Card

Hello Friends

It took me a while but I managed to figure out the "video thing" without the help of my teenagers.  I am certain I will get better at it as time goes by.  But for now, here is the video How-To for this morning's Thinlit Circle Die card.

The Circle Thinlit Die (cat # 133480) and all the wonderful accompanying framelits can be seen here.

And the Label Framelit Die (cat #133479) and all the cool things that come with it can be seen here.

Enjoy the rest of your day and God Bless,    ~Cynthia    <><

Circle Thinlits Card - Razzleberry Dahlia

Hello Friends

I am so excited!  Yesterday one of my readers asked me to create a card using the new Thinlit card dies from Stampin' Up!.   It just so happens that I am waiting for my Thinlit Label Die to arrive, but I did receive my Thinlit Circle Die two days ago so I decided to give it a try.  And I have to tell you.....I am SOLD!   Talk about easy to use.  And oh so cute!

In fact, I think I like this card so much, that my friends will be making this card at my Delightful Dahlias class on Wednesday night!  


The Circle Thinlit Die (cat # 133480) and all the wonderful accompanying framelits can be seen here.

And the Label Framelit Die (cat #133479) and all the cool things that come with it can be seen here.


I made a how-to video that I will post on my blog later tonight (yes, first I need to ask my teenagers how to edit it and get it properly formatted).  I did manage to upload a simple 8 second video for you to see how cute this flip-card is.  And once I get the whole video uploaded, you will see how easy it was to create!  But in the meantime, I wanted you to see this gorgeous card and know that further details are coming.  

NB - check the next post.  I was able to successfully make and download the FULL how-to video!

Thanks Anne for requesting I do this.  I have only been home from a Family Vacation for one day but you motivated me to try out my die sooner, instead of later -- and I LIKE the results!  Hopefully you will too!

While I try to wrap my head around editing the how-to video I created....I hope the rest of enjoy a wonderful day.              
Take Care and God Bless,    ~Cynthia       <><

Sunday, 11 August 2013

Heirloom Ornament Christmas

Hello Dear Friends

And Merry Christmas?   Nah!!  Just kidding!  But I do have Christmas on the brain right now since I have so many wonderful goodies from the Holiday Catalogue sitting in my stamp room, begging to get inky.  So today, I decided to try out the new Christmas Collectibles stamp set and the Chevron Border Punch.

The Punch is large folks.  Larger than our other border punches.  And the Chevrons it punches out are decisive and bold.  I love it.  No mickey-mouse alteration of a border for this punch, no sirree.  This punch means business.  

Pair that with the quaint, heirloom feel of the Christmas Collectibles Ornament images.  Quaint.  Delicate.  An air of fragility.  I love the contrast the punch and the stamped image make.  Add in the elegant script of the Special Season sentiment and the entire card is a contradiction in terms.

This IS only August so I am all for a Christmas card that makes you do a double take!

The photo is deceptive since in real life, all of the Vanilla pieces are one layer lower than everything in Pear Pizzazz.  The shadows make it seem as if the Vanilla elements are elevated, but in reality, they are an entire layer (one dimensional thick) down.  I sort of love when optical illusions change up the card and give me ideas for future cards......

I have a LOT more playing to do.  So many new toys.  So many ideas.  So few hours in the day.
Come back again and see what I've decided to get inky next.  Any guesses?  Any requests?

Until then - have a wonderful week ahead and God Bless,     ~Cynthia     <><

Saturday, 10 August 2013

Sharing Crafting Fun With My Team

Hello Friends

I promised if you came back I'd show you the other projects my Team Members made when they were here last.  


Grunge is all the rage right now, and so is Tape.  Washi Tape is very current-cultural.  And Faux Tape is right up there too.  So here we have a Coastal Cabana card that is 'grunge' without any tearing or ripping or smushing or 'dirtying up'.  Kind of an upscale, elegant grunge if you will.

A bit of bling, a piece of a paper doily.  And who can resist a butterfly or two?


This card is grunge - minus the "grunge" - if you know what I mean?  When I saw it online I had to CASE it (Copy And Share Everywhere) since it is definitely and absolutely my kind of grunge!


And did you notice the super-cute paper-clip bows on Page 152 of the catalogue?  

I wanted my Team members to see how easy it was to create these cute little gems all by themselves!  They really are cute.  And they really are easy.  Honest!  

My absolute favourite part about making the paper clip bows....my 11 yr old son saw these and asked what they were.  I told him they could be used as a bookmark and my bookworm son immediately asked if he could have one (he chose some Pumpkin Pie Designer Paper for his bow bookmark).  I love that even my son appreciates what I do!

Here's hoping that your family "gets" why you love crafting too!  
Have a wonderful weekend and God Bless,         ~Cynthia    <><